
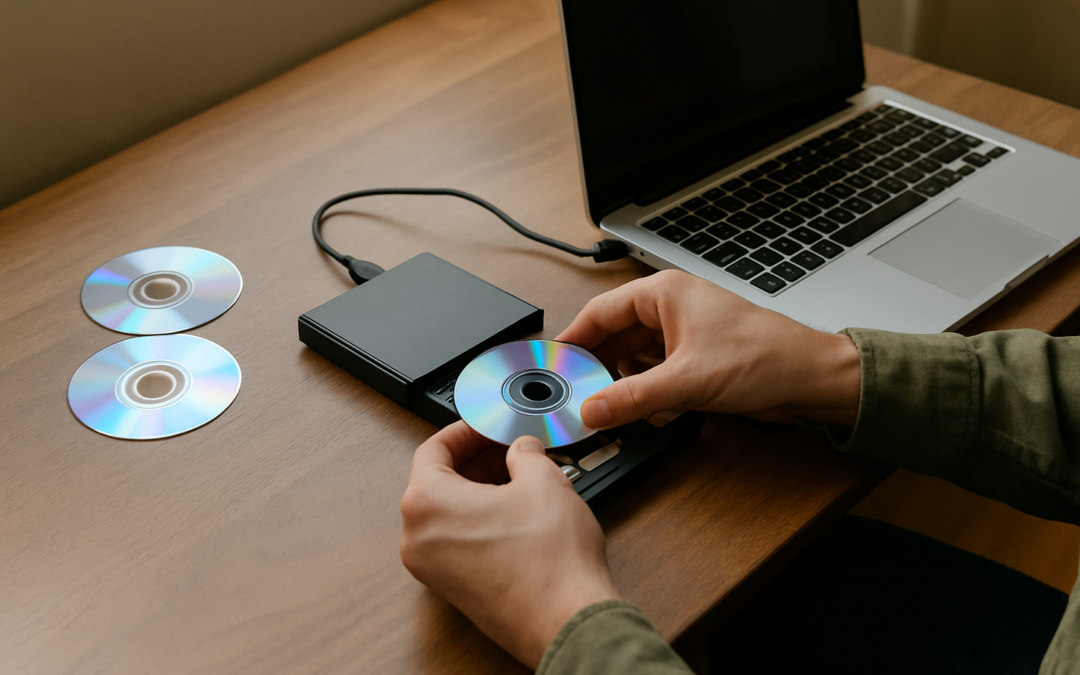
Mini DVDs showed up in camcorders in the early 2000s, right between the MiniDV tape era and the rise of flash memory. They promised something tapes never could: a disc you could pop straight into a DVD player. What nobody mentioned at the time was how fragile that promise would turn out to be. The discs scratch easily, the recording layer degrades, and the camcorders that burned them are long gone from most closets.
If you've found a stack of these small, shiny discs in a drawer, you're likely dealing with birthday parties, recitals, or a child's first steps that exist nowhere else. Before that footage becomes unreadable, it's worth understanding how the transfer process actually works, where it tends to go wrong, and when the smartest move is to stop fiddling with it yourself.
Why Mini DVDs Are Riskier Than They Look
Mini DVDs are roughly three inches across, smaller than a standard DVD, and they were almost always finalized, or left unfinalized, directly in the camcorder. That finalization step matters: if a disc wasn't properly closed out after recording, computer drivel refuse to read it at all.
On top of that, the recording layer on a mini DVD is thinner and more prone to oxidation than the layer on a standard pressed DVD. Twenty-plus years of sitting in a drawer, a basement, or a car can degrade that layer enough that the disc plays with stutters, freezes, or dropouts, or doesn't play at all. Unlike an analog tape, which tends to degrade gradually, the same way an aging 8mm video transfer often shows gradual color fade, a mini DVD often fails suddenly: it reads fine one day and throws errors the next.
What You Need Before You Start
To transfer a mini DVD to a computer, you need a few specific pieces of hardware most people no longer own:
A slot-loading or slim-tray DVD drive that accepts mini discs: Many modern external DVD drives have a full-size tray that can't safely hold a mini DVD without an adapter, and spinning an unbalanced disc at high speed is a common way to damage both the disc and the drive.
A mini DVD adapter ring, if your drive requires one: These plastic rings snap around the disc so it sits centered in a standard tray. They're inexpensive but easy to misalign, which causes read errors or, in worse cases, a disc that cracks mid-spin.
DVD ripping or playback software: Windows and Mac no longer include built-in DVD players by default, so you'll need a separate application capable of reading the disc's VIDEO_TS folder structure and either playing it back or exporting it to a standard video file.
Patience for finalization issues: If the disc wasn't finalized in-camera, standard software may not recognize it as a playable DVD at all, even though the footage is technically still on the disc.
Step-by-Step: Transferring a Mini DVD Yourself
1. Inspect the disc first. Hold it up to the light and check for visible scratches, cracks, or cloudiness on the shiny side. A disc with a cracked outer edge should not be spun at all; it can shatter inside the drive.
2. Seat it correctly in the adapter. If your drive needs an adapter ring, make sure the disc clicks in flush and centered before closing the tray.
3. Let your computer recognize the disc. It should appear as a DVD drive in your file browser, usually showing a VIDEO_TS folder rather than a single video file.
4. Rip or copy the video files. Use DVD ripping software to convert the VOB files inside VIDEO_TS into a standard format like MP4, rather than simply dragging and dropping, which often produces a file that won't play correctly outside a DVD player.
5. Verify playback before you store or discard anything. Watch the resulting file start to finish. Stutters, frozen frames, or missing chapters usually mean the disc has read errors that a basic rip won't fix.
6. Back up the finished file in at least two places. A hard drive and a cloud folder are the minimum; digital files can be lost just as easily as physical discs if there's only one copy.
When the DIY Route Isn't Worth the Risk
This process works reasonably well for a disc in good condition with a drive that cooperates. It works poorly, or not at all, once a disc shows real wear.
If a mini DVD won't mount, throws read errors partway through, or plays with visible glitches, forcing it through a consumer drive repeatedly often makes things worse. Each failed read attempt puts more stress on a recording layer that may already be deteriorating, and a disc that cracks inside a spinning drive is gone for good, along with whatever was on it.
This is the same calculation that applies across most legacy formats. A home drive can usually pull a healthy mini DVD onto a computer, but a disc with real damage needs equipment and repair techniques a home setup doesn't have, which is why a DIY vs professional video conversion comparison is worth thinking through before you risk the only copy of something irreplaceable. The same logic holds for whatever else turns up in the same box. Families who switched to mini DVD camcorders often still had their parents' older reels sitting in storage, and those need their own careful handling, whether that's an 8mm film transfer for home movies from decades earlier or a 16mm film transfer for footage shot on heavier, older equipment.
A professional transfer service uses specialized drives and disc-repair techniques designed specifically for damaged or unfinalized media, along with the ability to recover data from discs that a standard computer drive simply rejects. That's a meaningful difference when the content on the disc can't be re-recorded.
Build Your Digital Archive with Leave A Legacy
Leave A Legacy specializes in converting fragile, aging home media, including mini DVDs, camcorder tapes, film reels, VHS tapes, and photo collections, into modern digital files that are easy to store and share. Our technicians handle each disc and reel by hand, using equipment built to recover footage that consumer drives and players can't read. If your collection also includes old family movies on film, our super 8mm transfer service can preserve those alongside your mini DVDs so everything ends up safely digital in one pass. Additional info: we have a few miniDV cameras in the store that we can try to finalize your disc with.